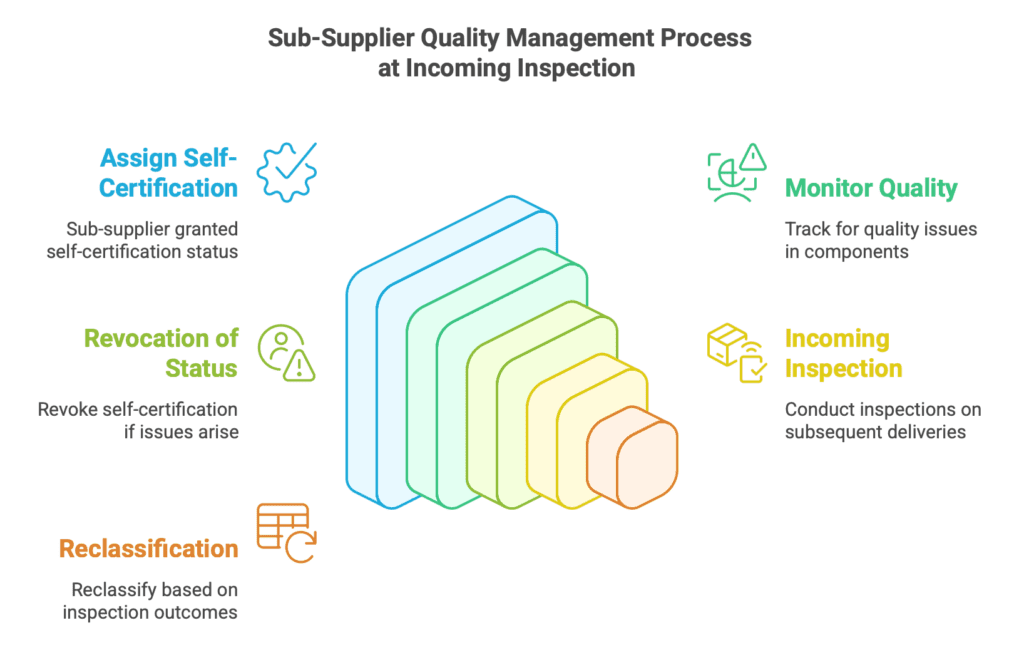
The incoming inspection detects non-compliant parts from sub-suppliers before they reach the production line.
When defining this activity, it’s worth considering strategies to improve its management. You can find insights on how to approach this in the article below.
Random Control: Is it really the right direction?
The standard approach for “incoming” component inspection often involves quantification. However, is this method truly sufficient? Let’s explore why this might not always be the case.
For instance, consider components received from a sub-supplier that are injection-molded. The molds used in plastic processing are typically multi-cavity. This means that during a single injection cycle, several components are produced—ranging from a few to many, especially for smaller parts.
In such cases, a better strategy might be to shift from randomly selecting a fixed number of parts (e.g., five) for inspection to verifying one part from each cavity.
This approach helps prevent situations where defective components, initially assessed positively and moved into production, are later reported as non-conforming during the production process.
Dock to Stock, Freepass, Self-Certification
This strategy goes by several names, depending on the client we are working with. Its implementation helps optimize resources allocated to incoming inspection. But what does it involve?
If a sub-supplier is qualified during the pre-launch phase (e.g., through an approved PPAP from our supplier management department), we can internally assign them a self-certification status.

Under this status, their components bypass incoming inspection. However, if a quality issue arises, self-certification is revoked, and subsequent deliveries (e.g., the next three) are subjected to incoming inspection. If no further non-conformities are found, the sub-supplier is reclassified as Dock to Stock, Freepass, or self-certification.
Important Note: This status should function exclusively within the organization. Sub-suppliers should not be informed about it. Why? If a sub-supplier knows that its components are not being inspected, it might be tempted to pass on non-conforming parts to reduce its internal scrap levels.
What happens if, over a calendar year, we realize no incoming inspections have been performed (as planned, due to an absence of quality issues)? In such cases, the company can conduct an internal preventive sub-component inspection to meet the IATF 8.6.2 requirement. This involves re-qualifying the manufactured product, ensuring it aligns with customer delivery expectations.
Incoming Inspection for Variable and Attribute Data
In incoming inspection (and beyond), we often encounter two types of data: attribute data and variable data.
- Attribute Data: The results are binary, e.g., OK/NOK, no scratches/scratches found.
- Variable Data: The measured value itself constitutes the result (e.g., a specific diameter measurement).

Why does this distinction matter? In my experience as a customer quality representative, I have often seen inspection records where, for a measurable value like diameter (with defined tolerances), the recorded result was simply marked as “OK.”
This is an incorrect approach and requires adjustment. Proper records should include the actual measured value, ensuring traceability and accuracy in quality control processes.
Dariusz Kowalczyk


